måndag 28 december 2009

Herald of nurgle

finally its finished and i have pics...
enjoy, i will try to get some better pics some day but i felt that i had to get this online now!!

Photobucket

Photobucket

Photobucket

Faces/skin tutorial

this has to be the simplest tutorial of this painting phenomenon ever made, i did it in 25 minutes so the mini is not all that it can be so to say.

its all about colour theory and knowing that skin is not beige/brown/pink/whatever, its alot more complicated than that, in fact its to complicated to hastily recreate on a mini in this scale. but there is lots of colour in our skin that we take for granted and alot of people ignore them when painting it.
in this example i use a standard metal space marine scout from GW. the colours are from a variety of manufacturers and the colours are all over the place i guess.

skin colours:
P3 khardic flesh
GW Catachan green
P3 beaten purple
Rackham pearly flesh
GW skull white

teeth:
P3 Menoth white base
P3 Menoth white highlight

eyes:
P3 Menoth white highlight
GW chaos black

so to get a quick idea i created this picture of all the stages (kind of) and i will write some to complement it aswell.

Photobucket

Picture 1
a fortress grey basecoat is covered with some khardic flesh, i use grey because i like it and i think it works best, matter of taste i guess.

pic 2
i shade this using the green as a wash, make sure you think about lighting when doing this as it will help later.

pic 3
the purple was added as a wash to the hollows of the eyes to make him look a bit angrier.

pic 4
clean up time, go back over the mini with khardic flesh. keep the shades in the recesses.

pic 5
this was taken after ive been mixing pearly flesh with khardic flesh for about 3-4 highlights always going one nuance lighter. do this up to pure pearly flesh.

pic 6
here i added white to the pearly flesh, going up to pure white, during these highlights stages the lighting is very important to remember. i use a zenithal light on this mini which means that the lightsource is situated somewhere above the mini (straight up).

pic 7
the eyes and teeth are painted, no need for any deeper instructions here i guess. the surrounding areas were given a basic coat to make the face stand out more and not look so messy.

im sorry the pic is a bit bad but hopefully you understand what i have done.

cheers and thanks for looking.

söndag 27 december 2009

Well happy birthday me then i guess

Today 28 years ago i was apparently born, i will celebrate by doing nothing i dont want to and today i dont want to do anything but build/paint minis

tisdag 22 december 2009

Almost finished with the guck!

I should have posted this two or so days ago when i took the pics but i havent had any time on my hands lately. today i found out that i had passed the latest take home exam in anthropology and thus my almost two week long off-time has started, to bad it will be interrupted by the holidays and my birthday.

Photobucket

Photobucket

Photobucket

Photobucket

Photobucket

im thinking of doing some more tutorials of the techniques i most often get Q:s about. perhaps i will get the time to do one after the weekend, just tune in and see it for yourselves if it has been done by then.

cheers and merry X-mas etc to all of you (better write it just in case you know).

fredag 18 december 2009

Herald continues

so i have almost finished the skin on this fella, and the snailslime trail that he has created is there also. on to some minor highlight work on the skin and then i will do the arm. or perhaps i´ll finish the base first, who knows...

here he is anyhoo
Photobucket

Photobucket

what do you think?

torsdag 17 december 2009

Computer crash

My computer regularly loves to break down in the weirdest way, this time however was different, this time it was some kind of meltdown resulting in a flash of the bluescreen of death (famous Microsoft phenomenon). so i had to re-install everything and find all my lovely bookmarks and worst of all, remember all my passwords...

but im back and tomorrow i will start some painting on the sternguard fellas aswell as the techmarine that havent showed you guys yet since it looks like crap.

next week there will be X-mas celebrations for alot of days aswell as my birthday so there will be some new stuff for me i hope.

to give you guys a hint at what im getting for myself have a look:

Photobucket

its not that tricky i guess, if you know....

söndag 13 december 2009

Sternguards

I finished the building of these minis yesterday but i couldnt find my cam to get a pic of them, well here they are. based on the dark angel veterans box to give them sort of an grim reaper look or something.

Photobucket

its the "heaviest" green stuff work ive done in years.

fredag 4 december 2009

I actually almost finished this now.

the escher juve got her gloves painted aswell as the rest, heres the result:

Photobucket

the bases will not get done until i have done the entire gang from now, so this is finished for the moment, what do you guys think?

//
Dennis

Remember these guys?

for today i have actually painted some on my demonprince, not much but its one step cloder to completion. its pretty much just an expansion of the colours ive already used on the face but still. the aim is some seriously sick pale flesh, and theres lots of colours to go from now, so expect the nuances etc to change over time, this is just some sort of base layer to create the colourchanges later on.
i also mnaged to get the base of the herald painted, i photographed the steps but i dont think its necessary to add a tutorial of it up to this point, im hoping people know how to drybrush, wash, blend and stipple anyways. there will be lots of veggies on these bases since im a little bored with cityfight/wasteland bases by now.

here are the pics:

Photobucket

Photobucket

cheers
//Dennis

torsdag 3 december 2009

The necromunda sidetrack

as i think i mentioned earlier im going off on a necromunda sidetrack aswell as doing my two 40k projects. the gang i will be building will be some sort of kinky/porn/punk/goth escher, this means see through clothing and lots of places to really let the colour play a bit. ive started three minis that i can show off right now to get people thinking, my leader/mad Donna, Kal jericho/bounty hunter and one juve:

Photobucket

Photobucket

Photobucket


hope you enjoy
i also started taking some more pics of how to base like me (EGO!!!) so expect some sort of painting tutorial of the nurgle heralds base soon.

the demonprince got some more paint on him yesterday and i might get some pics tonight.

//Dennis

tisdag 1 december 2009

My first tutorial: Simple basing with texture and volume.

i often get questions about the bases that i do, how i do them, are they time-consuming? are they technically difficult etc. I never thought of it that way when i came up wit this way of doing it. im sorry if im not the only one who do them this way since it sounds lie i invented the technique, im sure i didnt.

THE PICS ARE CLICKABLE, im no computer freak so im not able to change sizes on them or the blog atm, so for now it suffers a bit.

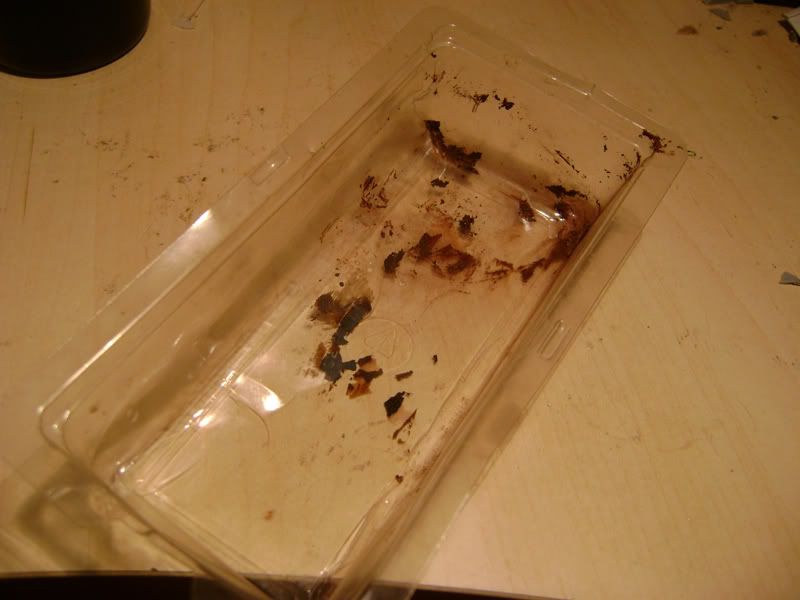
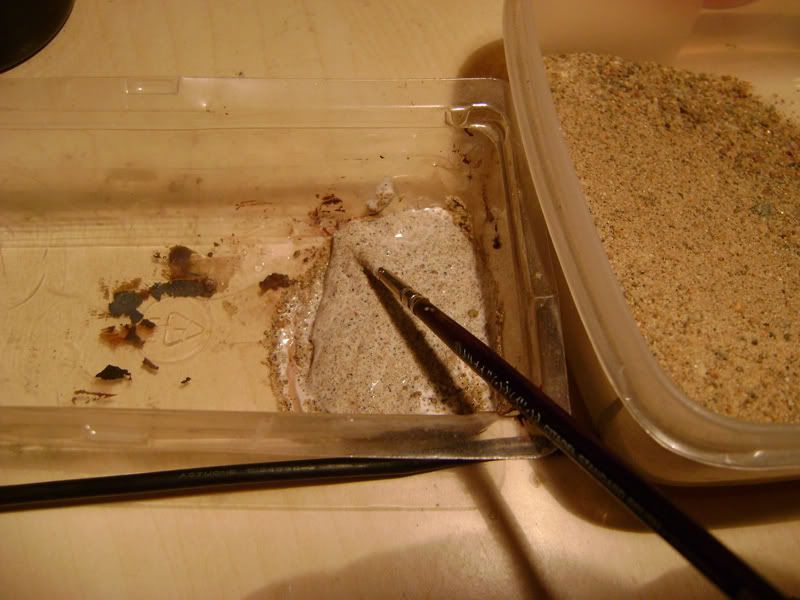
First this is what you need: one container for mixing stuff in, it should be expendable since this is messy, i have this clear shiny piece of plastic that i got from some thing, the best thing with it is that its kind of soft whilst being rigid. the soft part makes it possible to remove the dried up rests from it later. it can be used again that is.
Photobucket

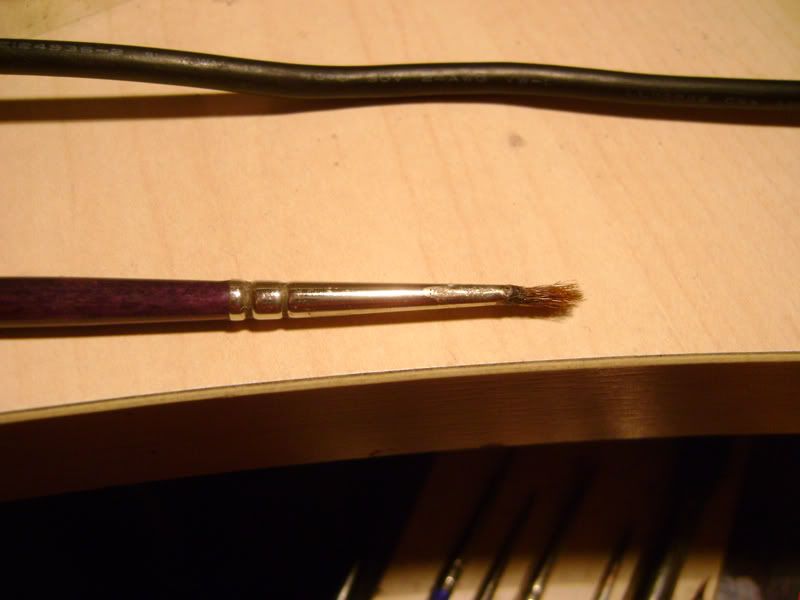
you also need some sort of old worn brush, this is a standard brush from GW if im not mistaken (?)
Photobucket

you also need some sand and pva glue, i didnt take a pic of mine since its just regular sand i found in the kids sandbox, extra decorations are optionable after the sand.

HERE WE GO!
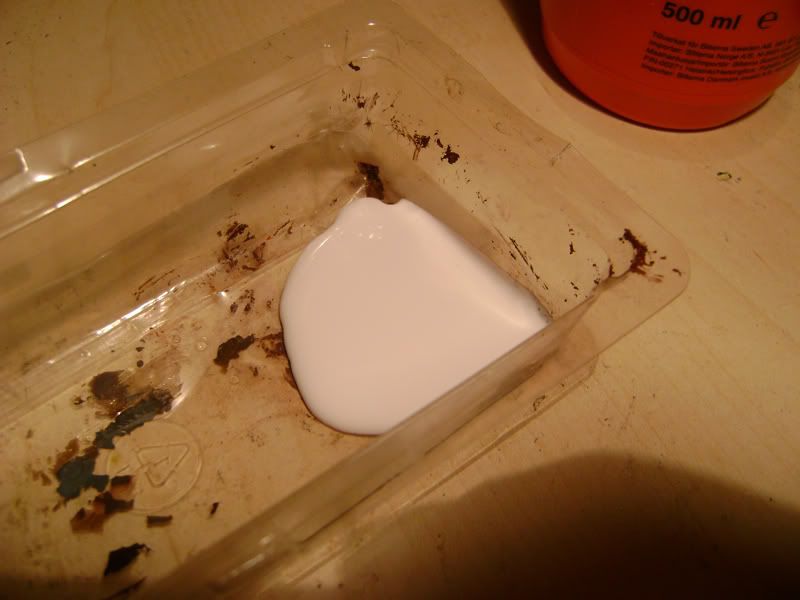
pour some glue into the container
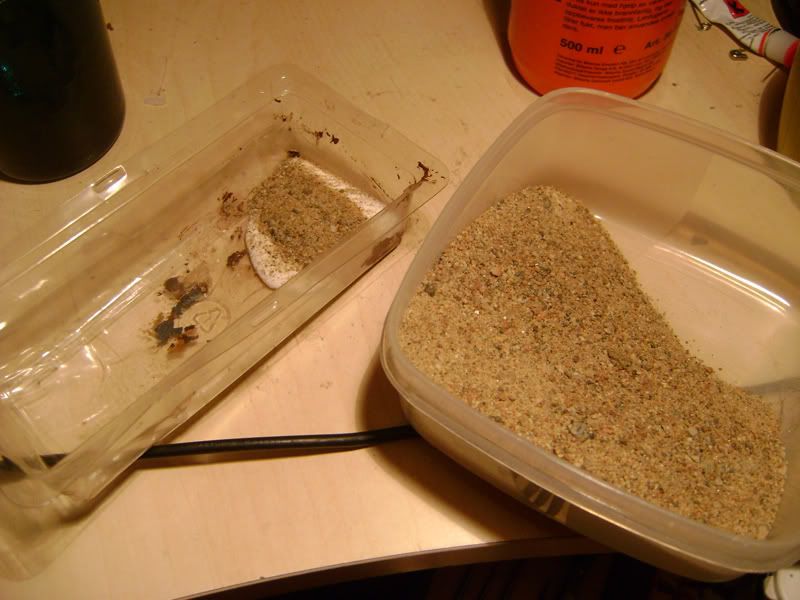
Photobucket

add some sand
Photobucket

mix it
Photobucket

apply to mini, make sure NOT to get it on the mini since this stuff is gucky!
Photobucket

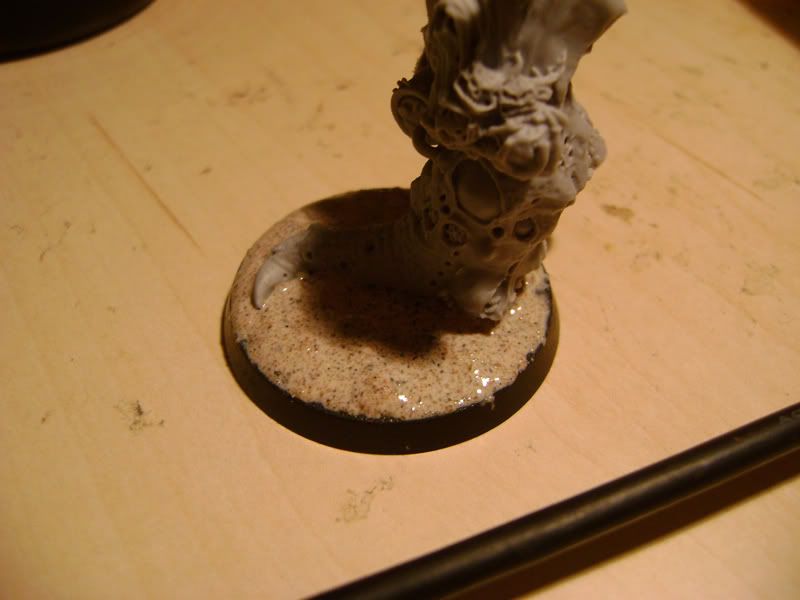
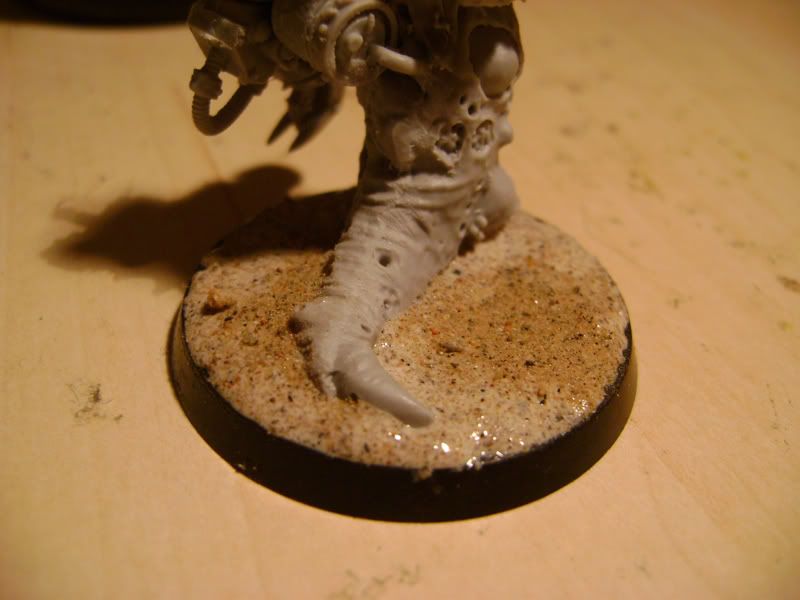
sprinkle some sand ontop, this should not cover the entire base
Photobucket

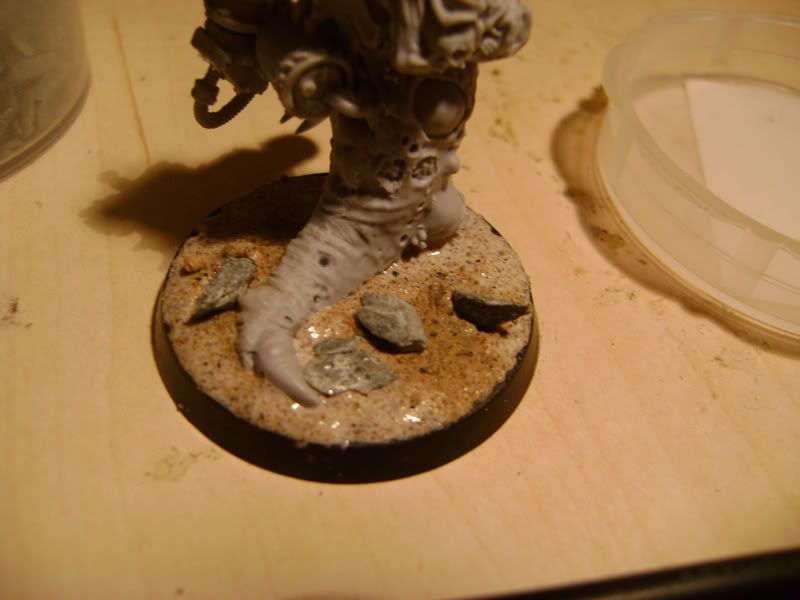
add some extra decorations, i added some from the basing kit gw did a while ago, just rocks. all extra stuff from this pint on is added after painting.
Photobucket

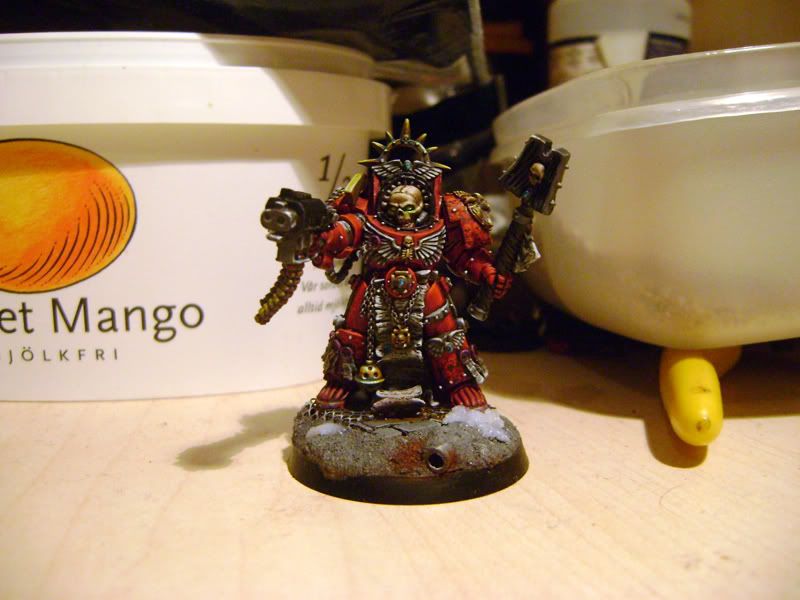
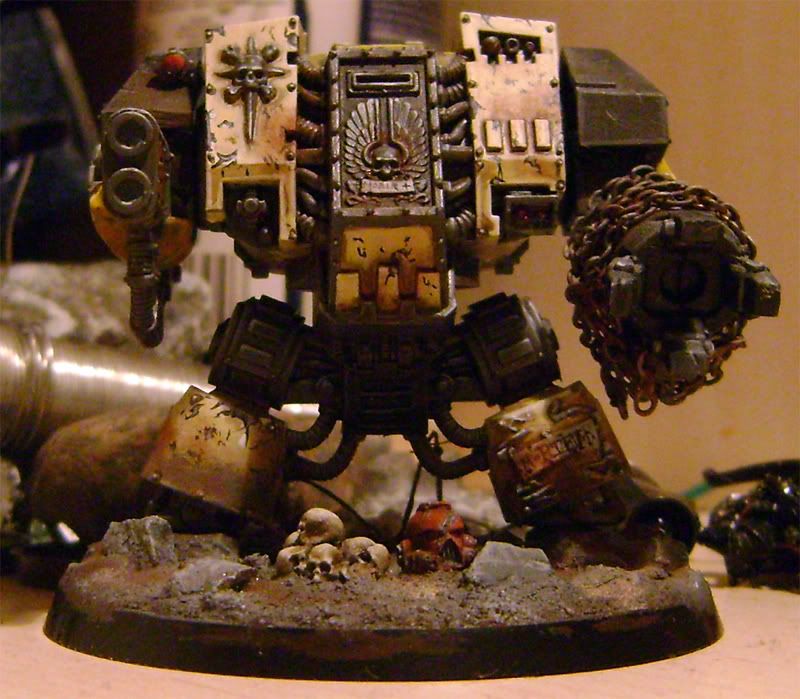
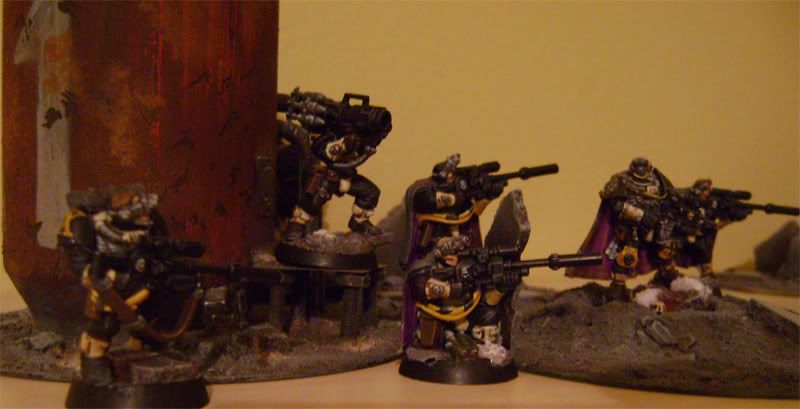
and here we have some examples created by using this technique:
Photobucket

Photobucket

Photobucket

Photobucket

Photobucket

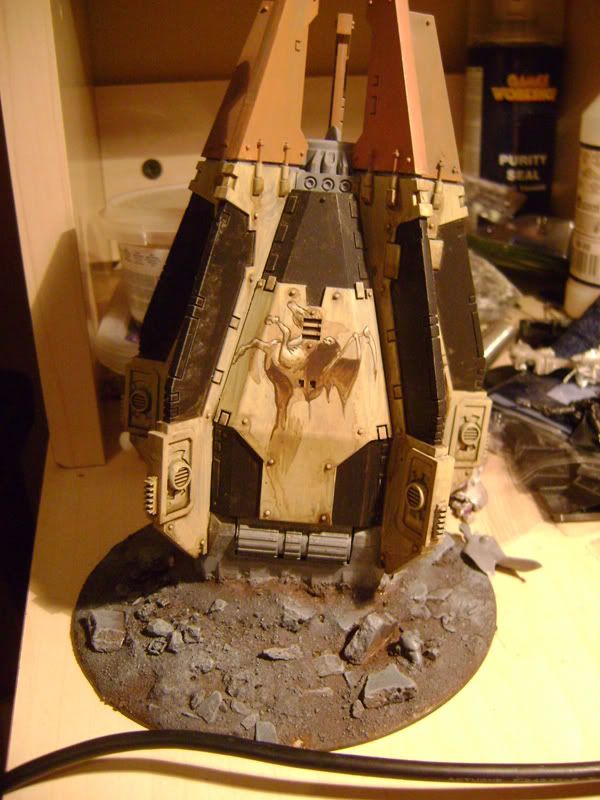
and i also did some scenery with it
Photobucket

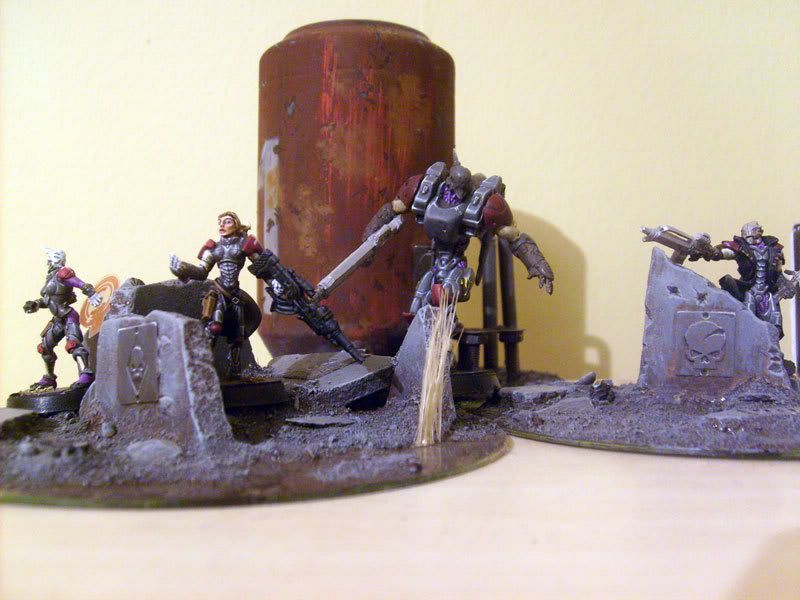
the upside to this is that you dont get a plain surface like you do with just gluing sand on top of the base, this looks kind of natural and you can control it somewhat to get whatever textures youd like and alot of different surfaces that can be everything from crater-ish to jungle-ish.

thanks for looking and happy painting/creating.

next up will be some ideas on how i shade/higlight.

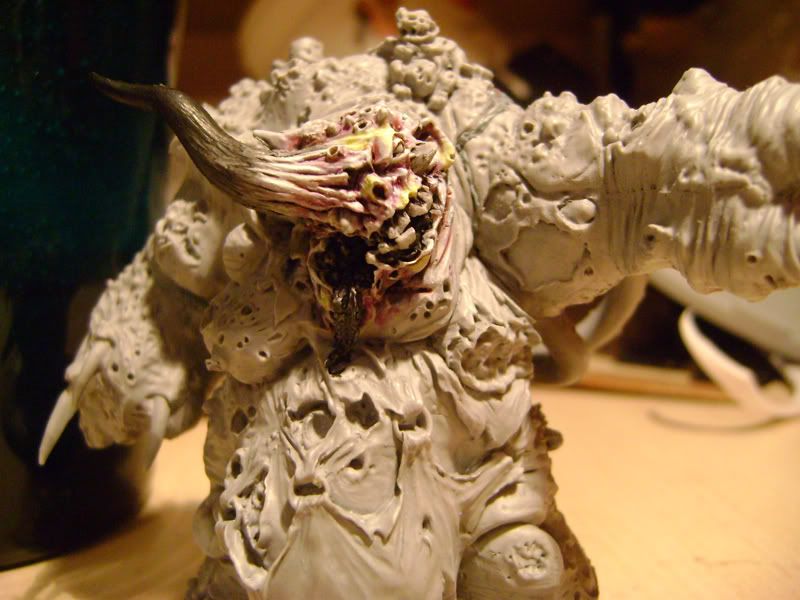
till then have a look at the start of my demonprince, hes very wip at th moment but atleast im working on him....
Photobucket

cheers
/Dennis