THE PICS ARE CLICKABLE, im no computer freak so im not able to change sizes on them or the blog atm, so for now it suffers a bit.
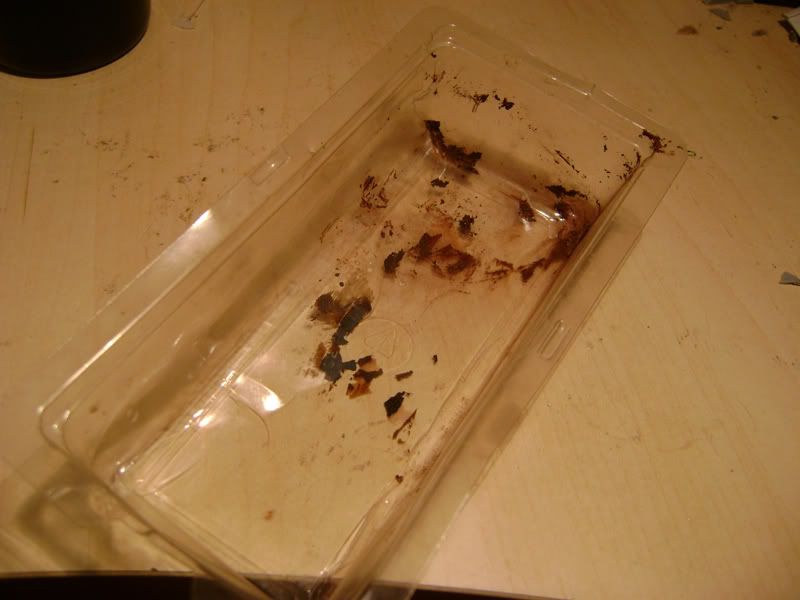
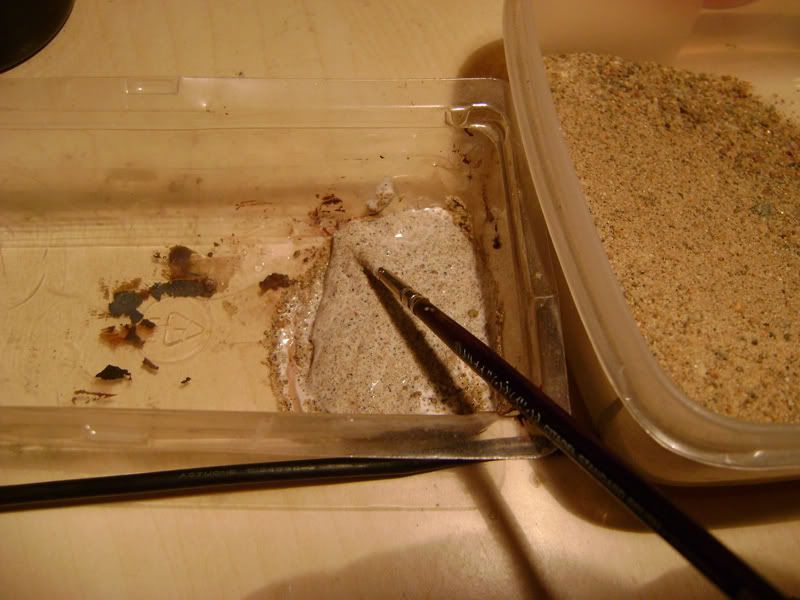
First this is what you need: one container for mixing stuff in, it should be expendable since this is messy, i have this clear shiny piece of plastic that i got from some thing, the best thing with it is that its kind of soft whilst being rigid. the soft part makes it possible to remove the dried up rests from it later. it can be used again that is.
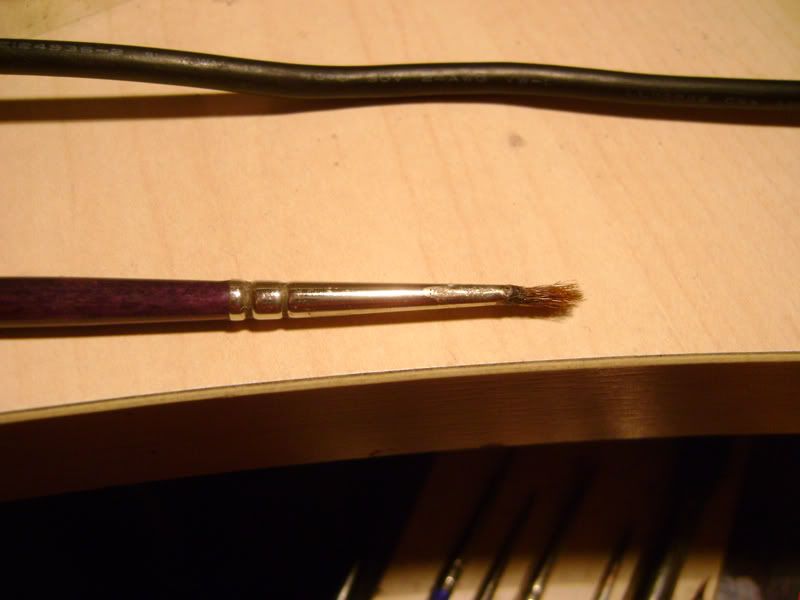
you also need some sort of old worn brush, this is a standard brush from GW if im not mistaken (?)
you also need some sand and pva glue, i didnt take a pic of mine since its just regular sand i found in the kids sandbox, extra decorations are optionable after the sand.
HERE WE GO!
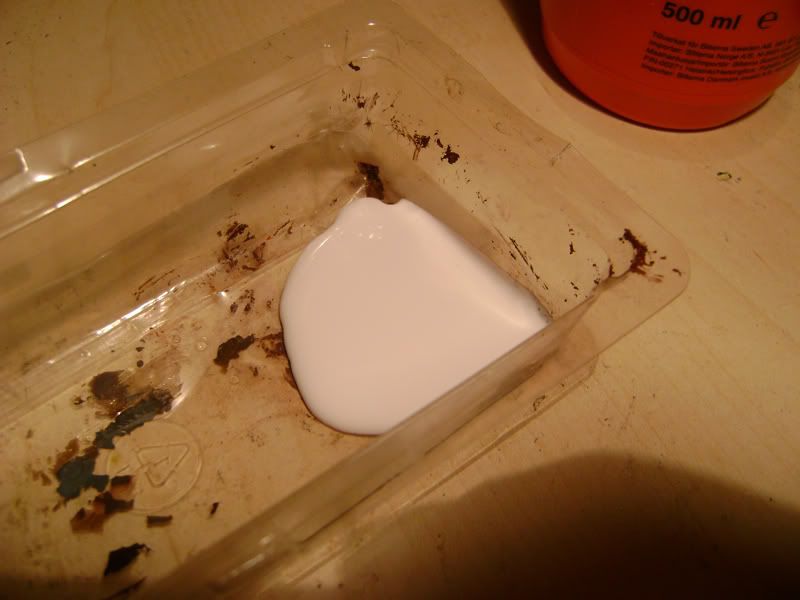
pour some glue into the container
add some sand
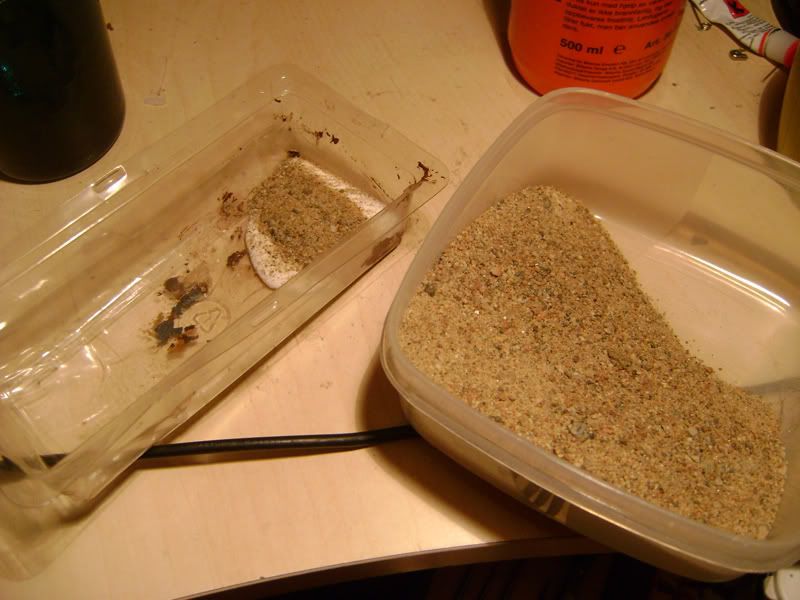
mix it
apply to mini, make sure NOT to get it on the mini since this stuff is gucky!
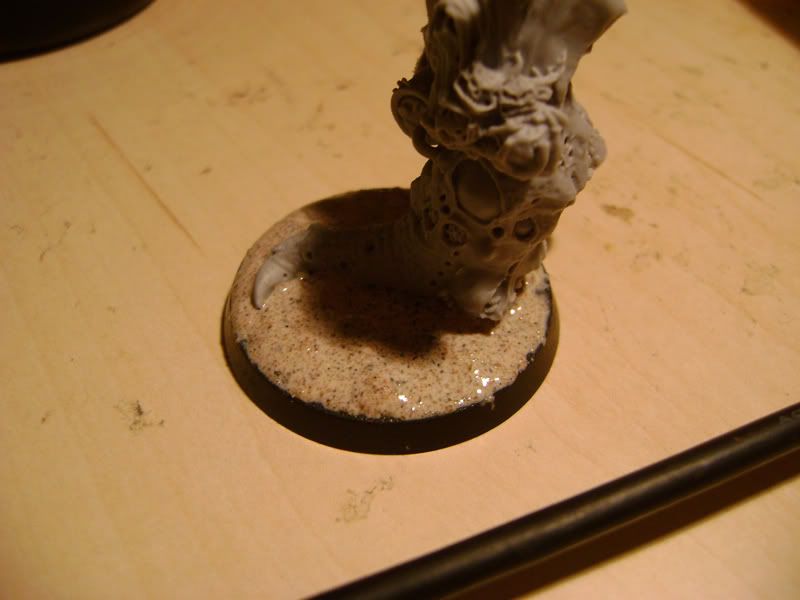
sprinkle some sand ontop, this should not cover the entire base
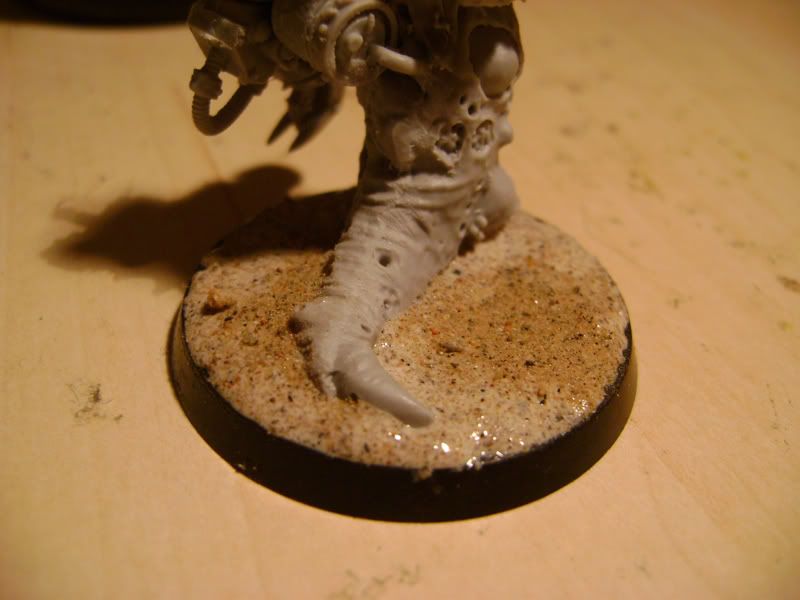
add some extra decorations, i added some from the basing kit gw did a while ago, just rocks. all extra stuff from this pint on is added after painting.
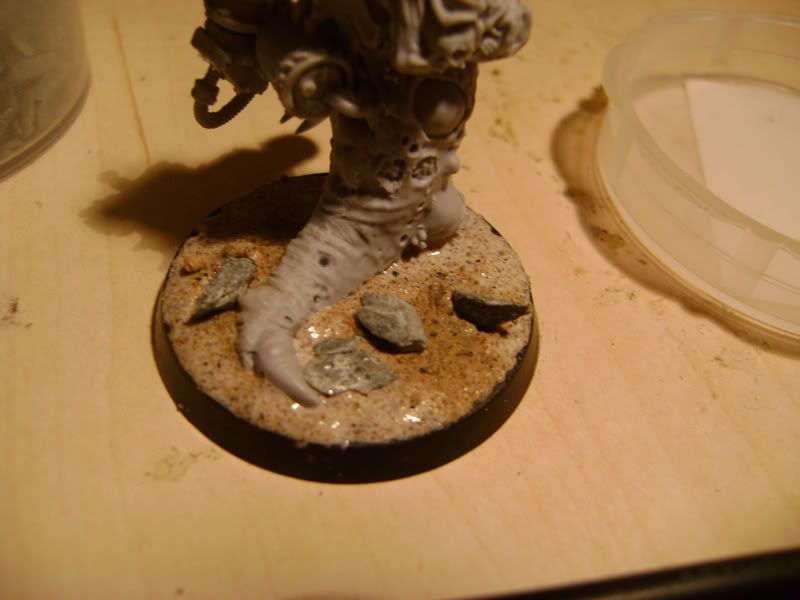
and here we have some examples created by using this technique:
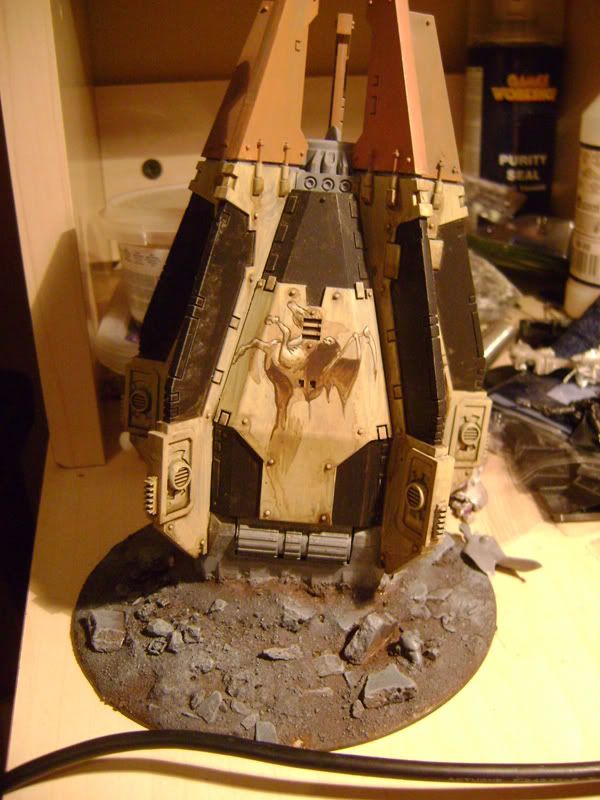
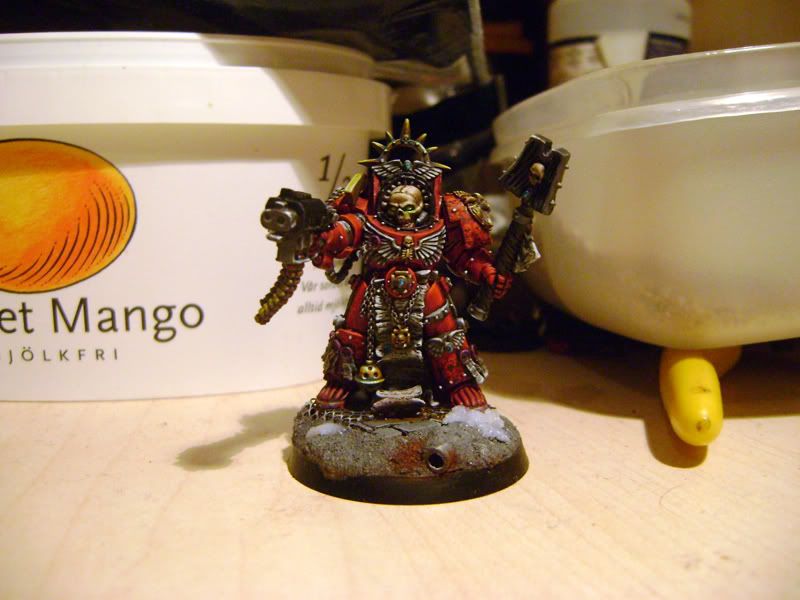
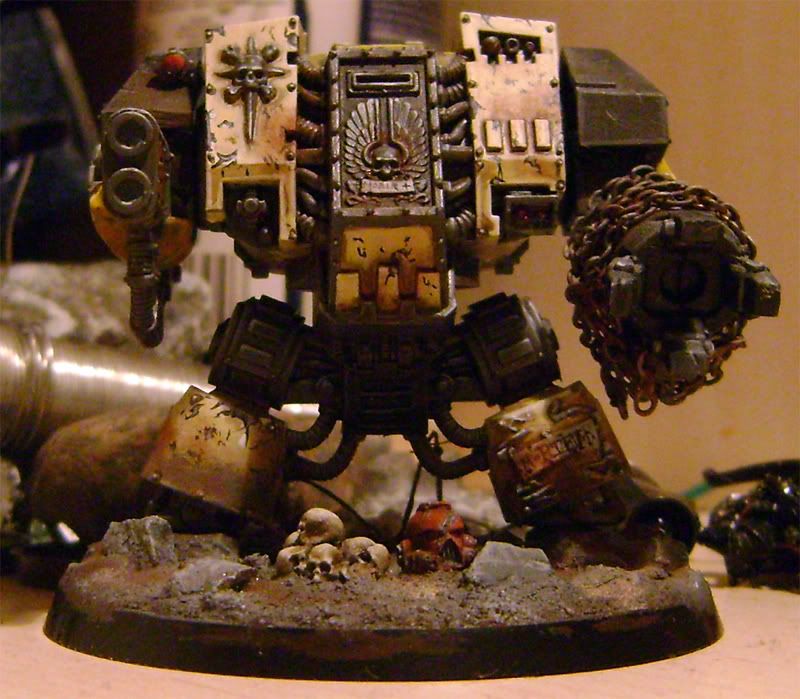
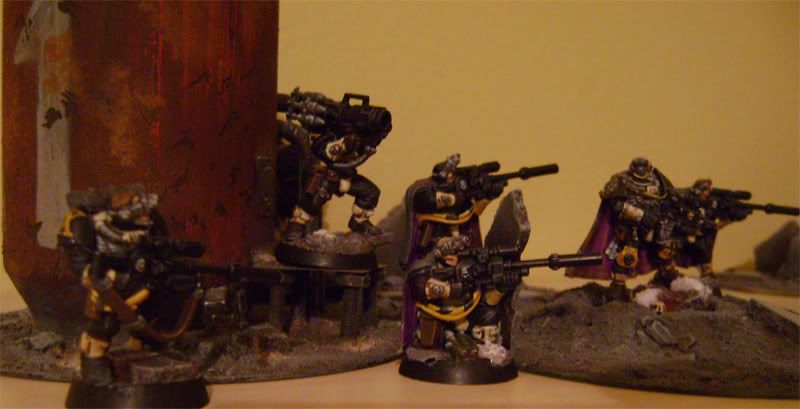
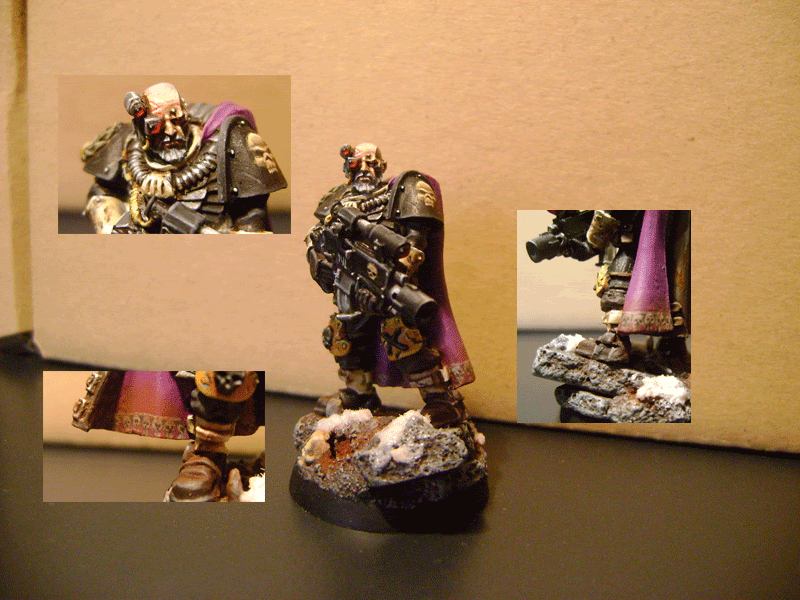
and i also did some scenery with it
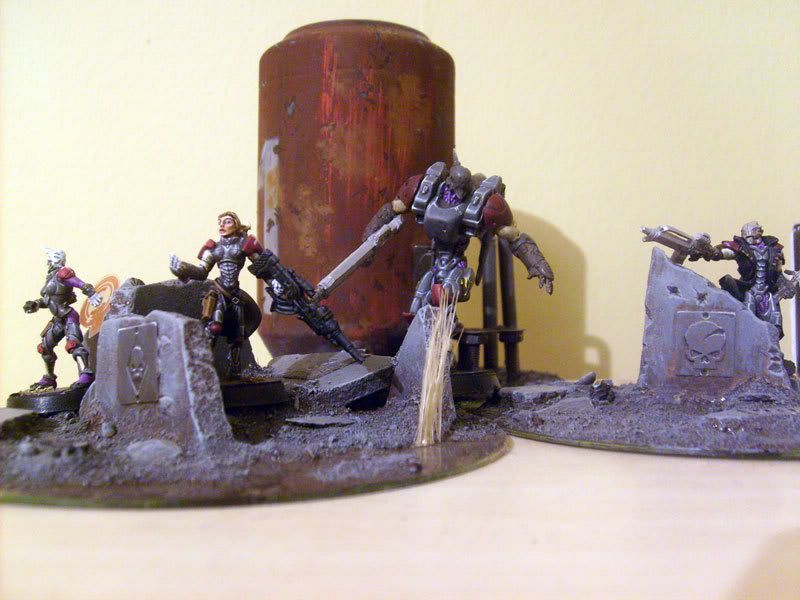
the upside to this is that you dont get a plain surface like you do with just gluing sand on top of the base, this looks kind of natural and you can control it somewhat to get whatever textures youd like and alot of different surfaces that can be everything from crater-ish to jungle-ish.
thanks for looking and happy painting/creating.
next up will be some ideas on how i shade/higlight.
till then have a look at the start of my demonprince, hes very wip at th moment but atleast im working on him....
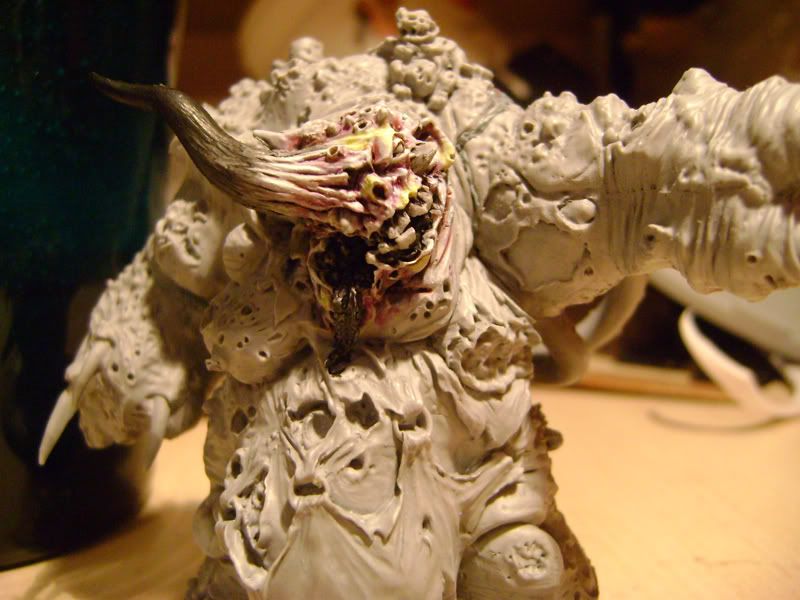
cheers
/Dennis


Cracking tutorial mate.
SvaraRaderaAs a tip, if you're going to use photobucket pics, use the clickable thumbnail option.
Alternatively, if when you're writing your blog, double click the image so that little squares appear on the corners of the image. Then click one of the corner squares whilst holing down your 'shift' key. You'll need to be able to scale the picture down by just moving your mouse.
Hope that helps mate.
thanks man, ive edited the pics now and it works alot better now.
SvaraRaderaMuch better mate.
SvaraRaderaI never have the idea to mix sand and glue... I'm going to try this. Thanks.
SvaraRadera